Contact sheet
Preface
This feature is useful to set up an ordered layout of a set of images to be printed on a contact sheet.
The images will be placed, along with the settings we made in the control dialog, in rows and columns, through the needed number of pages [see figures 1, 2 and 3].
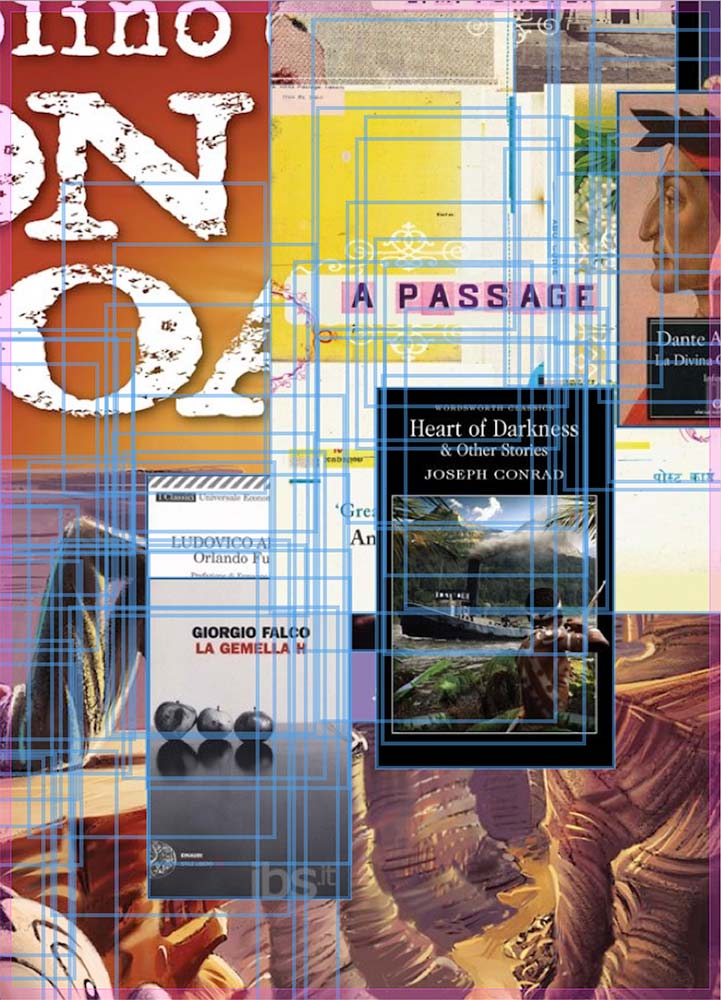
figure 1 - Images on the page, yet to be ordered
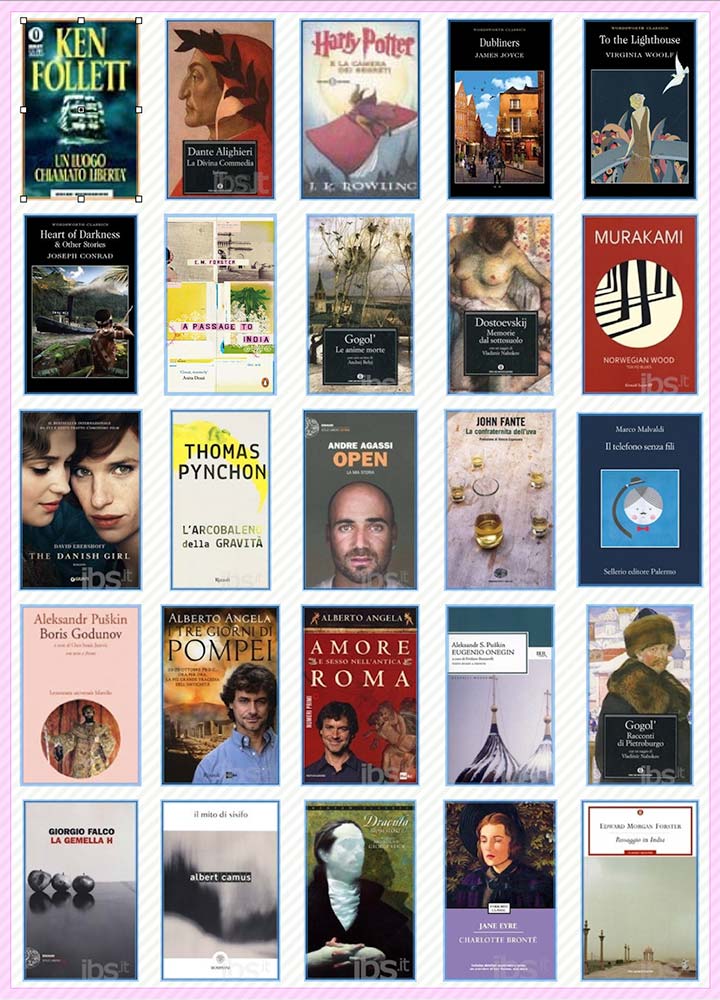
figure 2 - Layout 5x5

figure 3 - Layout 8x8
How does it work?
The command Contact Sheet can be found both in the Tools->Contact Sheet… menu, and in the toolbar1, with the icon ![]() .
.
The purpose of this command is to obtain an ordered disposition, in rows and columns, of all the images currently on the document.
It's up to the user to decide how many rows and columns for each page he wants, determining, this way, a number [rows x columns] of equal spaces (called cells) prepared to accomodate the images.
The algorithm that stays behind this command will take care of resize and move opportunely each image, optionally rotating it to better fit the cell space and creating the needed pages (also this as an option in the command).
The main dialog
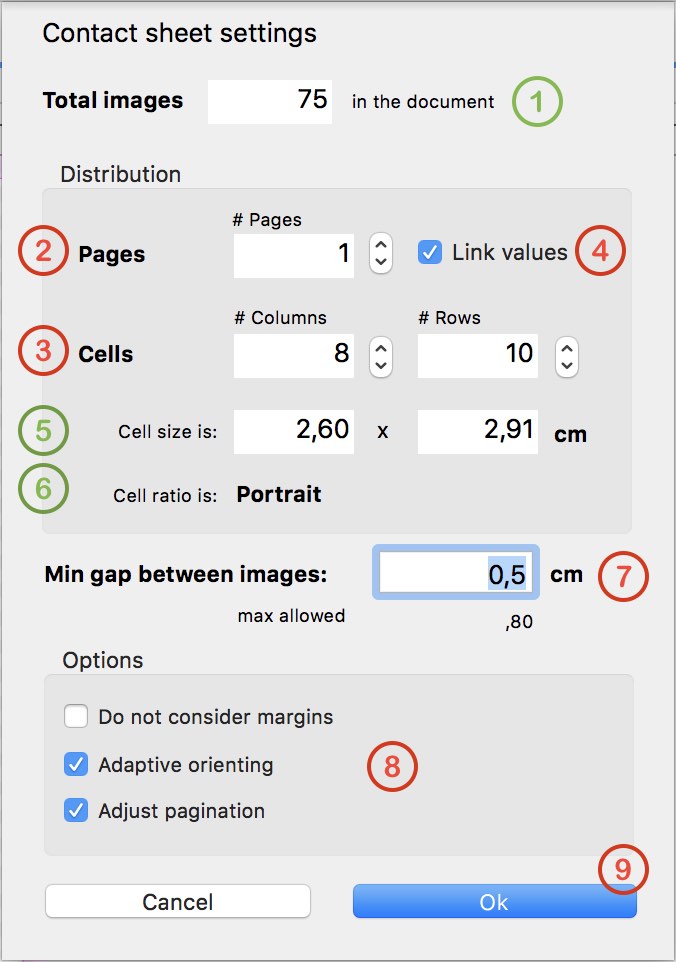
- Total images
Here are counted all the images currently placed in the document and that will be involved as a whole, unless they are locked [ ], in the operation.
 - Pages
Here you can establish how many pages you want the images to be distributed. This value is taken into account whenever you are using the automatic calculation of the needed cells and columns, see "link values" checkbox at point [ 4 ]. - Cells
Here you can set the number of rows and columns for the desired layout. - Link values
If this checkbox is selected, then values in fields rows, columns and pages are linked together with the number of images you have to place. - Cell dimension
This read-only value shows the size of a single cell destined to host one image.
The value is the result of the page subdivision in rows and columns.. - Cell ratio
This is another read-only field and shows the orienting of the image [portrait / landscape] determined by the size ratio of the cell. - Gap between images
Here can be set the minimum gap between adjacent images. The gap cannot exceed a given limit, in order to avoid images too much little or even with negative dimensions. - Other options
- Do not consider margins
The paper sheet is taken as a whole, leaving out from the computations the non-printable margins. Of course, in this case, some part of the perimetral images can end up in the non-printable area. - Adaptive orienting
Images are rotated (90°) or not, to better fit the cell space. - Adjust pagination
The number of pages will be adjusted, that is pages could be added or removed to the document.
Note that pages are always piled vertically in the contact sheet command.
- Do not consider margins
- Ok / Cancel
Proceed or cancel the operation
Quick menus
Landscape oriented page
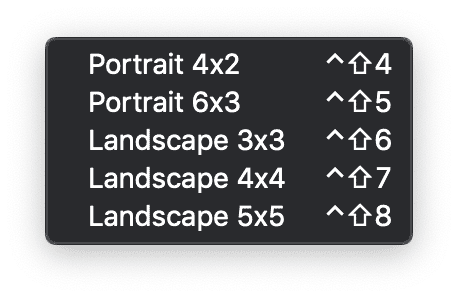
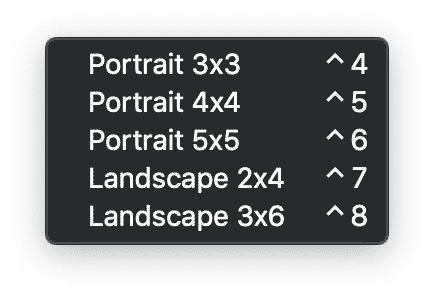
For practical reasons, we have prepared for you some menus to perform the contact sheet command without the need to pass from the main dialog.
We have considered some common cases, such as single page printing in a typical format (A4, A3, Letter), with a menu for portrait and one for landscape orientations, so let's think the menu items with these formats in mind.
The last item, [use saved preferences] execute the Contact Sheet command with the same parameters currently saved in the program preferences, that are the same of the last time you have used the command through the main dialog. Actually these settings are saved when exiting the Contact sheet main dialog.
Advice: write down the keyboard shortcuts for an even quicker usage of this or other commands.